Go to footer

Smart Doll Chairs

Patient enough to take us step-by-step through a how-to? Well post it here!

Smart Doll Chairs

Postby davidd » Mon Dec 17, 2018 12:02 am

"Did you make that doll/wig/chair/whatever? No, really, did you?"

Yeah, I know, that's the tag line to the "Custom Creations" gallery, not the tutorials gallery. I did make a chair, in Smart Doll (1:3) scale, and I was gonna post it to the Custom Creations gallery, but since I also have some Work-In-Progress pics, I'll post it here under tutorials.

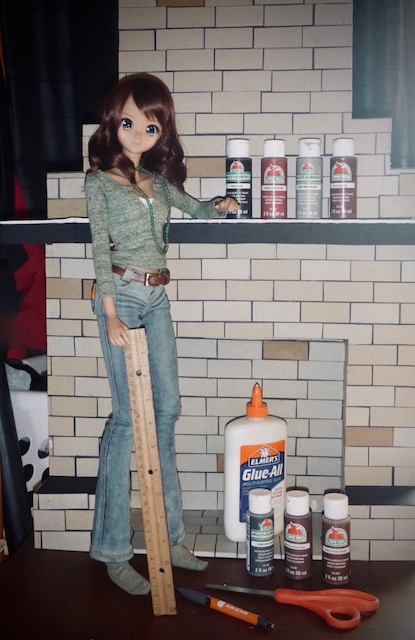
I recently purchased my first 1/3 scale Smart Doll, which quickly became two Smart Dolls. I figured they needed a place to sit, so I decided to try to construct a sofa in Smart Doll scale.

I had no idea what the dimensions should be, so I started by measuring the full-size sofa in my living room and doing the math (divide all the measurements by three, pretty simple) to get an approximate size. That "approximate size" was going to be unfeasibly large, so I opted to try to make a two-seat settee rather than a full-length sofa.

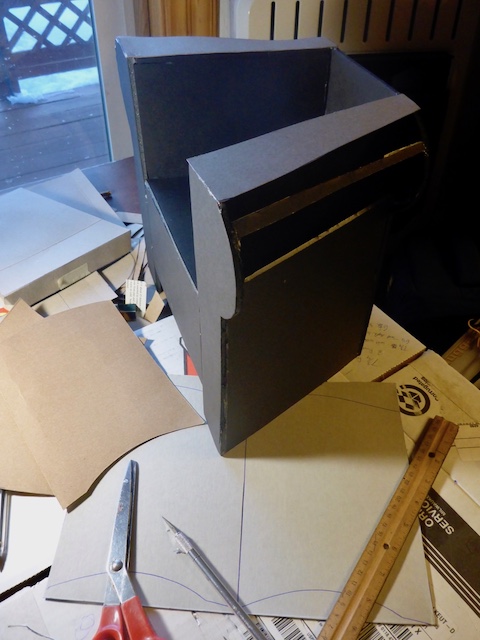
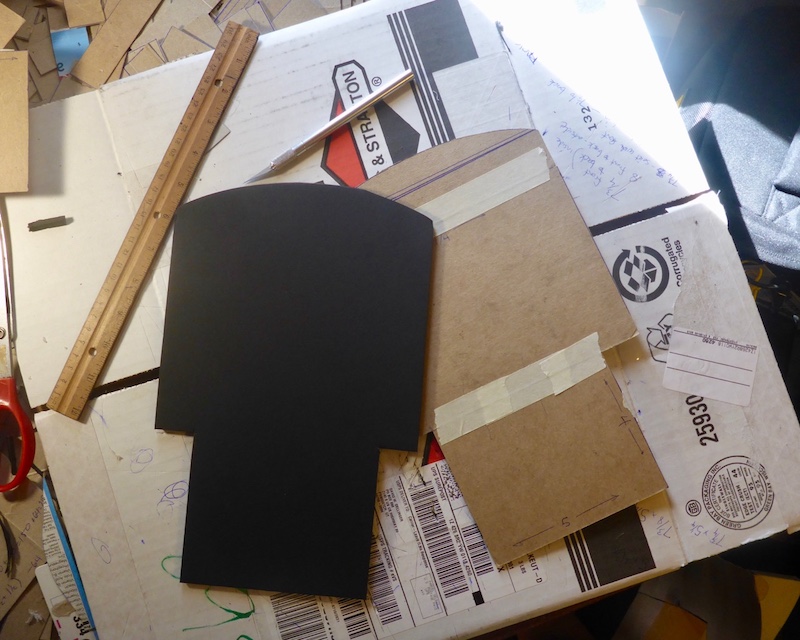
I used those dimensions to start constructing a rough mock-up out of thin cardboard (breakfast cereal boxes) and masking tape:

Image

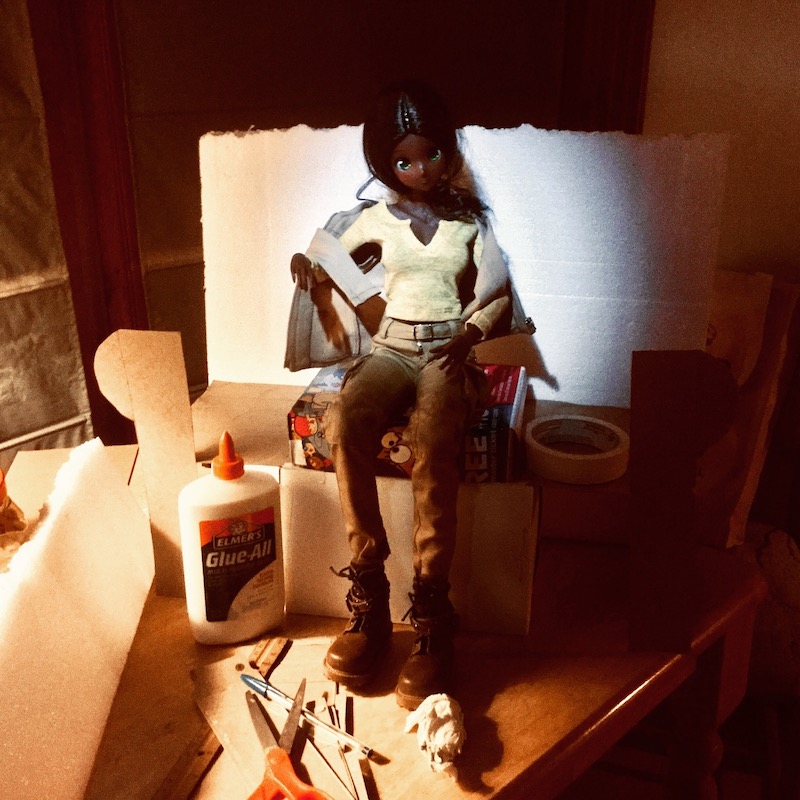
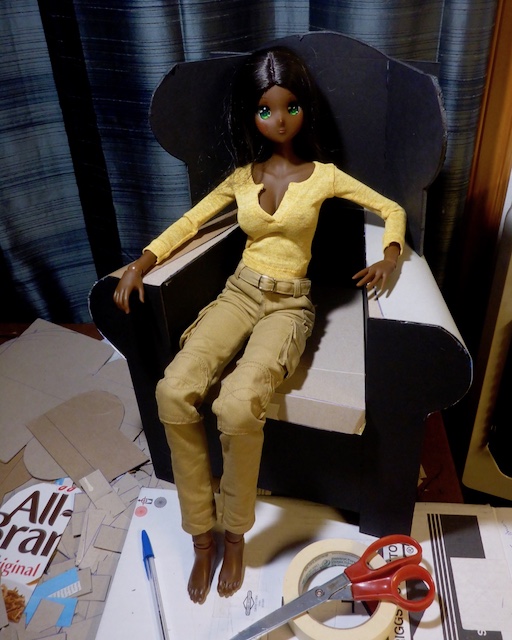
Smart Dolls have longer legs and a slimmer build than actual humans, and while they are well articulated by doll standards, they're still not as flexible as real people, so some adjustments needed to be made to the dimensions to better fit the Smart Doll. Mostly this meant raising the height of the seat relative to the floor to compensate for the long legs of the doll. I experimented by taping together "cushions" made of cardboard.

Image

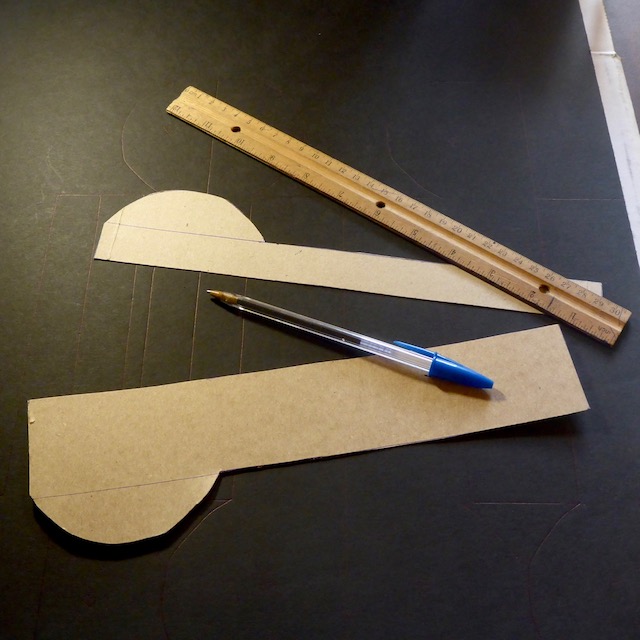
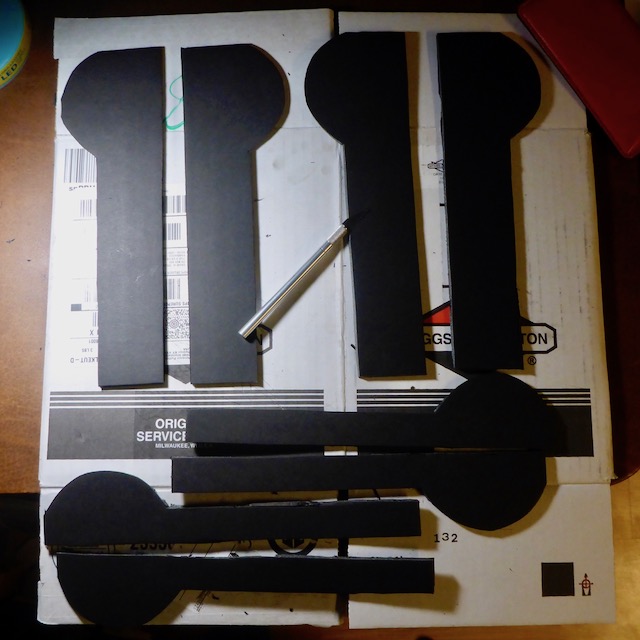
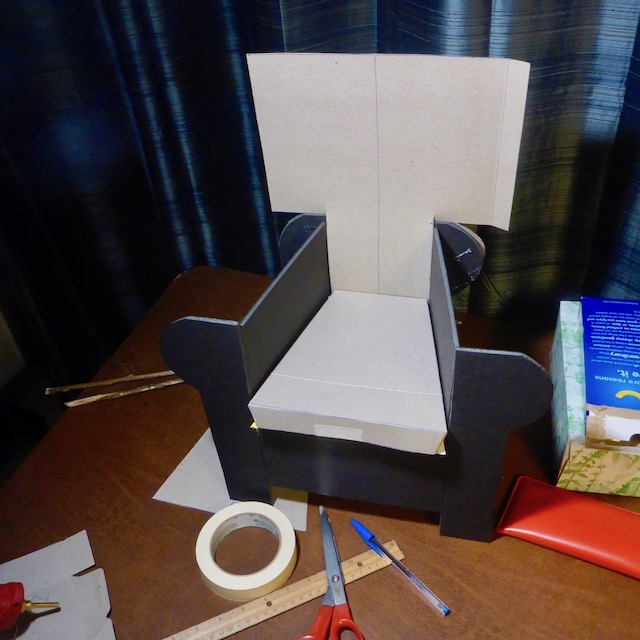
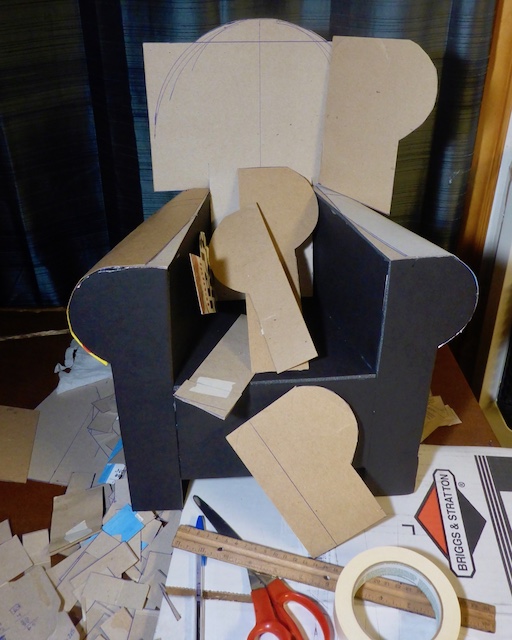
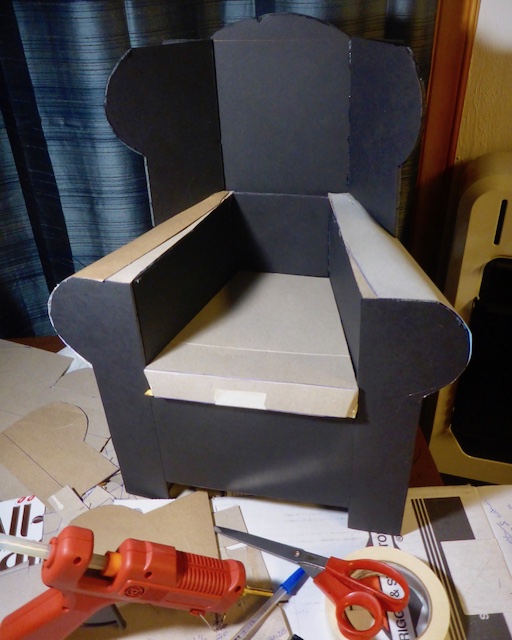
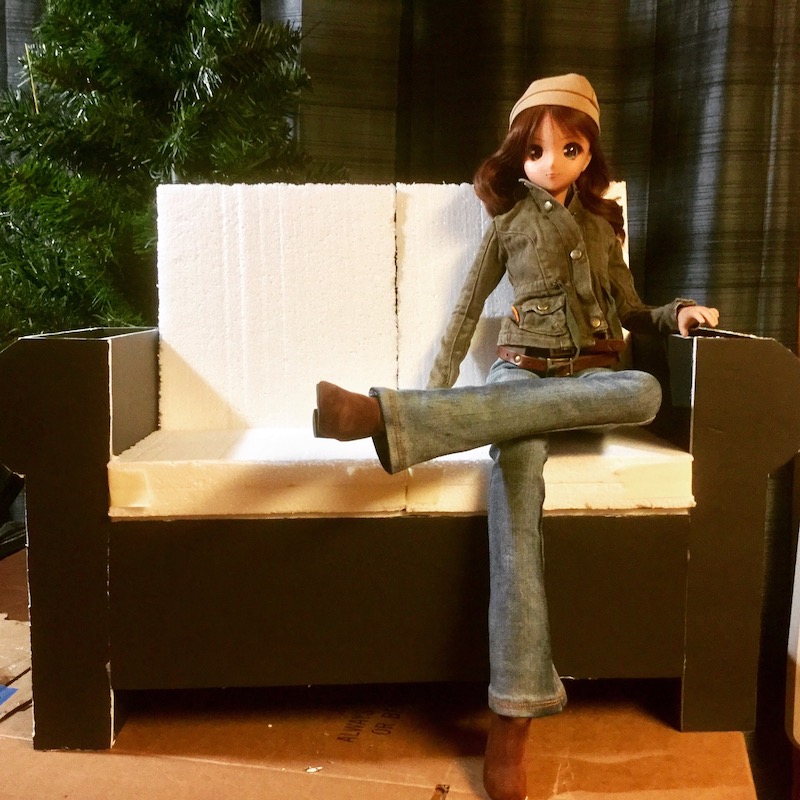
Once I had the dimensions more or less figured out, I used the cardboard pieces from the mock-up as patterns to make a sturdier frame out of foamcore board.

The width of the seating area (side to side) is 16 inches. Total width of the piece is about 20 inches. Seat height above the floor is 8 inches to the tops of the cushions. Cushion depth (front to back) is about 6 or 6-1/4 inches. Arm height is 11 inches. Total height of the back is 16 inches above the floor, and about 8 inches above the seat cushions.

Image

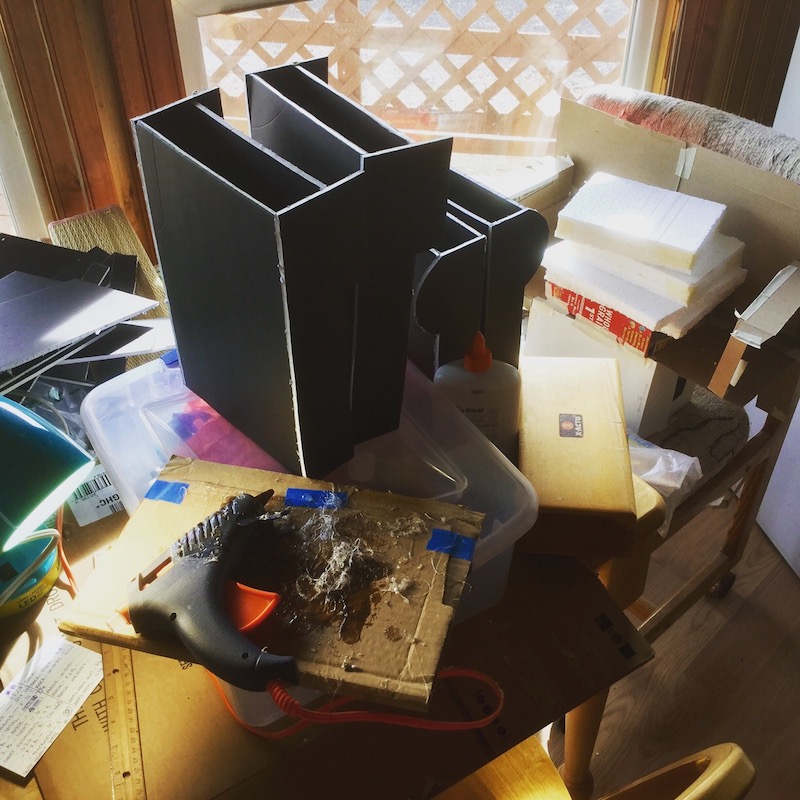
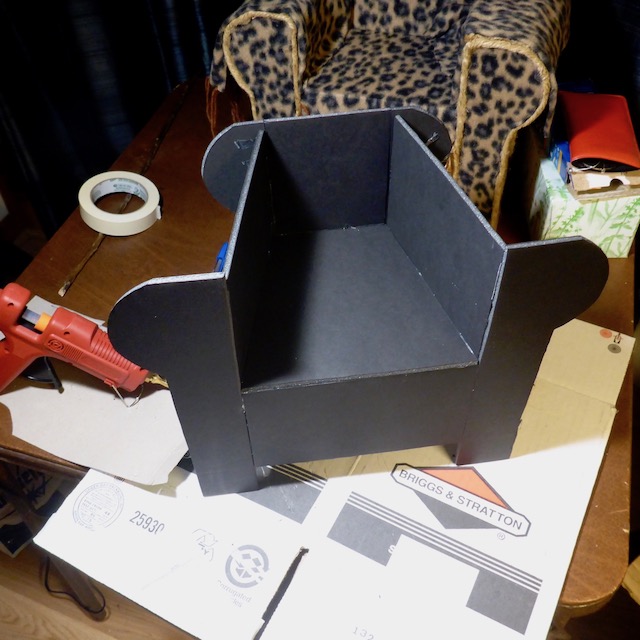
I glued the foamcore frame pieces together using hot-melt glue. The usual burnt fingers and associated swearing ensued. I used pieces of styrofoam for the cushions. The final dimensions were partly based on the thickness of the random bits and pieces of styrofoam I happened to have on hand.

Image

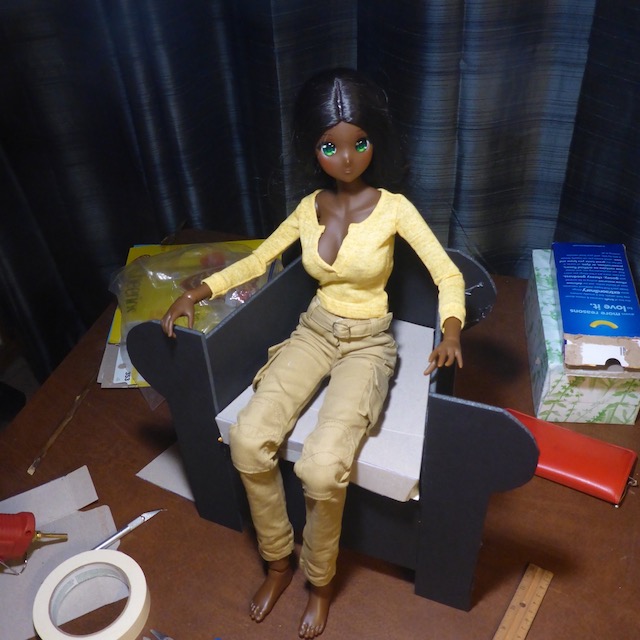
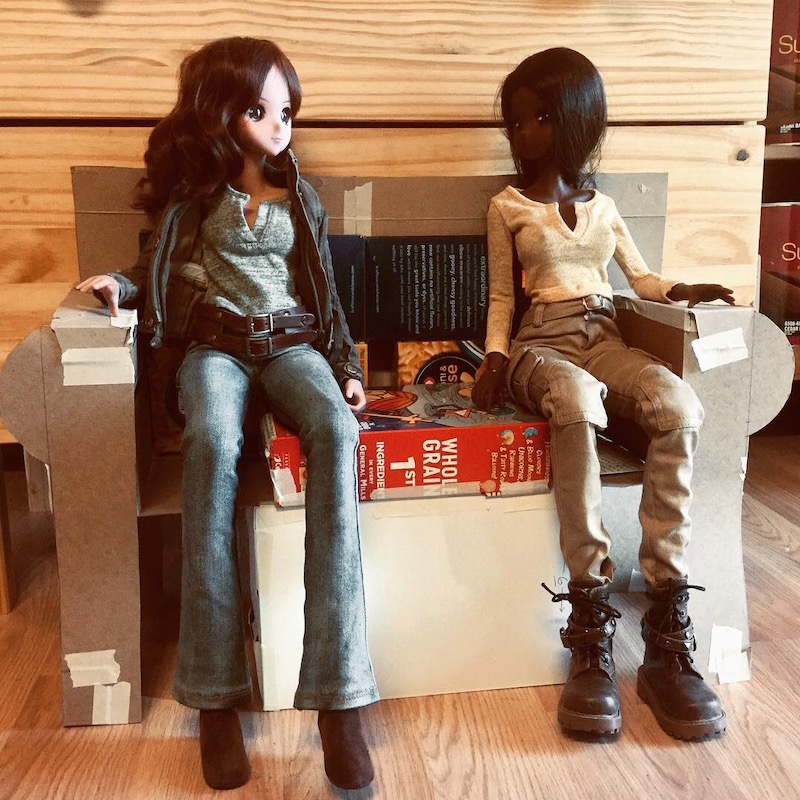
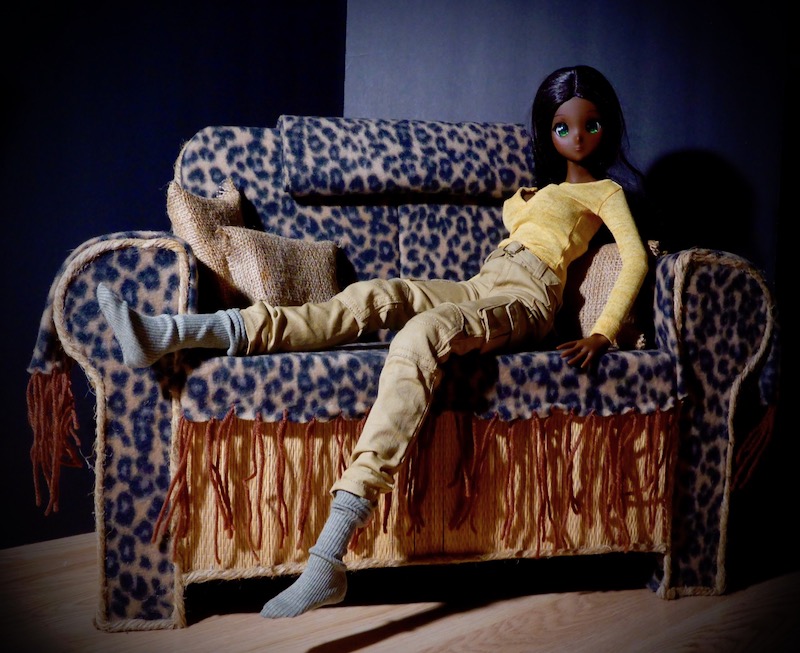
And then we get to that big "glossed over" step that plagues most tutorials; you know, the step where something goes from looking like a very rough, cobbled together mess to something pretty cool, with very few specific details offered as to what actually happened. In this case, that step is "cover the frame with fabric." Since I don't sew, the fabric work was done with hot-melt glue and white glue. The fabric is from a scarf I found at a Dollar Store type outlet. It actually required two scarves to cover the sofa arms and cushions. I cut the required shapes out of the fabric and glued the fabric to the foamcore frame and around the styrofoam cushions. I glued on pieces of twine (old macrame jute) to cover the seams.

Image

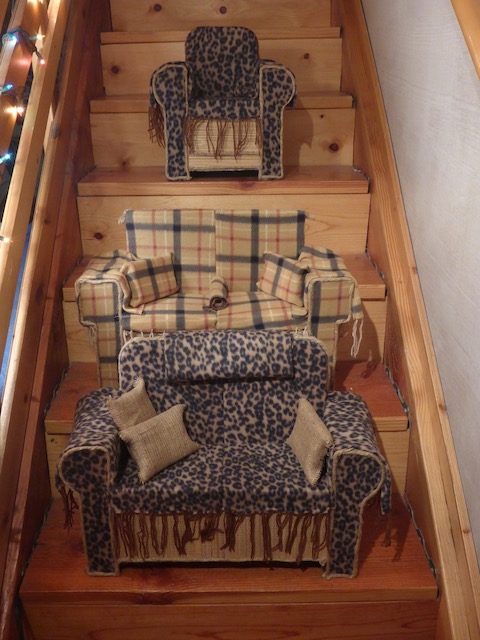
Because I have a penchant for screwing things up, I actually constructed two sofa frames simultaneously. The second one was for when, not if, I messed up the first one. To my surprise, the first attempt turned out fairly well, so I decided to finish the second one.

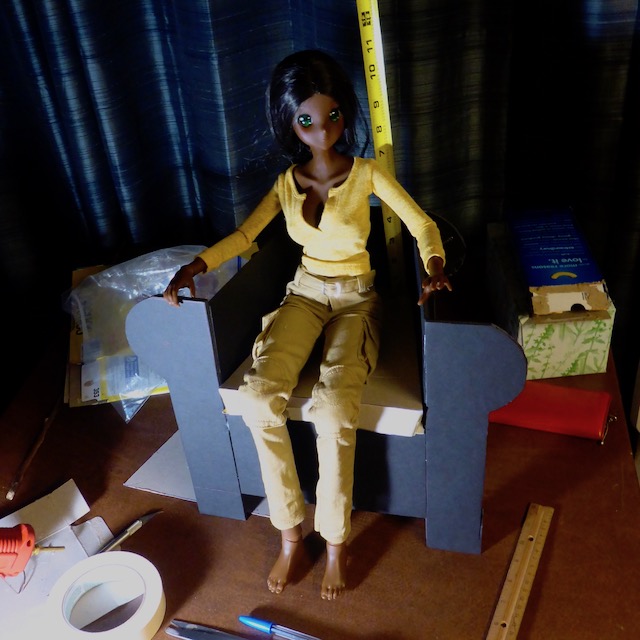
It was only as I was finishing up the second sofa that it occurred to me: Duh! Why do I need two sofas? I should have cut the second one in half and made an armchair, or maybe two armchairs! Rather than disassembling the almost-completed second sofa, I went ahead and constructed an armchair from scratch and covered it with leftover fabric from the sofa. All of the chair dimensions are the same as those of the sofa except for the seat width, which is about 8 inches instead of 16.

Image

So there ya go: my first attempt at constructing Smart Doll scale furniture out of cardboard, foamcore board, hot-melt glue, masking tape, and cheap fabric.

Now the question is, where am I gonna put these enormous things?
Last edited by davidd on Mon Dec 24, 2018 11:20 am, edited 1 time in total.
User avatar
davidd
the walls have dolliehs
 
Posts: 936
Joined: Mon Feb 05, 2018 10:30 pm
Location: Utah... yeah, I know....


Re: Smart Doll Chairs

Postby embyquinn » Tue Dec 18, 2018 8:46 pm

Splendid work! They look quite authentic.

As for where to put them...obviously the girls need their own room. :B
"Dolls love to be played with. They are lonesome if you leave them always in a box. How would you like to be left day after day alone, with no one to love you?"
User avatar
embyquinn
the walls have dolliehs
 
Posts: 789
Joined: Sun Mar 28, 2010 11:48 pm


Re: Smart Doll Chairs

Postby davidd » Tue Dec 18, 2018 9:46 pm

embyquinn wrote:As for where to put them...obviously the girls need their own room. :B


Yes... they are becoming rather insistent about that, actually. :|
User avatar
davidd
the walls have dolliehs
 
Posts: 936
Joined: Mon Feb 05, 2018 10:30 pm
Location: Utah... yeah, I know....


Re: Smart Doll Chairs

Postby zirconmermaid » Mon Dec 24, 2018 4:34 am

Thank you for the dimensions, now I don’t have to do my own math! They look great. I will be picking up my first smart Doll on the 29th.
It's all about Hazel!
Image

"Space.... the Vinyl Frontier. These are the voyages of the Starship Obitsurprise. Her 1/3rd scale mission: To seek out new plotlines, to explore the Whole Apartment - To Ball-Jointedly go where no doll has gone before!" -- Swan

Avatar by Meredith Dillman, http://www.meredithdillman.com
User avatar
zirconmermaid
It's all about Hazel
 
Posts: 3316
Joined: Sat Mar 20, 2010 6:28 pm
Location: Hazel's House, in Minnesota


Re: Smart Doll Chairs

Postby davidd » Mon Dec 24, 2018 11:19 am

zirconmermaid wrote:Thank you for the dimensions, now I don’t have to do my own math! ... I will be picking up my first smart Doll on the 29th.


Congratulations on your first Smart Doll! A New Year present to yourself?

As I mentioned, I used 8 inches for the total seat cushion height. Seat height is kind of a key dimension for Smart Doll furniture. One of my Instagram contacts made a Smart Doll sofa around the same time. She made the seat height 7-1/2 inches.

Another dimension that I forgot to include: front to back on the seat cushions, from the front edge to where the back of the chair rises, is 6 inches. (I will edit the original post to include that.)
User avatar
davidd
the walls have dolliehs
 
Posts: 936
Joined: Mon Feb 05, 2018 10:30 pm
Location: Utah... yeah, I know....


Re: Smart Doll Chairs

Postby davidd » Wed Feb 13, 2019 10:13 pm

Because I don't have enough Smart Doll chairs, I guess... :roll:

Actually, a discussion about wing back chairs in one of werepuppy's posts started me wondering if I could adapt my Smart Doll chair pattern into a wingback chair.

Here's what I've come up with so far:

Image
Using thin cardboard templates (cut from a breakfast cereal box) for the front and back of the armrests,
I trace the outlines of the various pieces on to foamcore board.


Image
Armrest fronts and backs cut out. My Xacto knife skills leave something to be desired. I'd prefer that
the cut edges were straighter and smoother, but the frame will eventually be covered with some kind of...
I dunno, covering, which should disguise most of the shoddy craftsmanship.


Image
Using the chair I constructed previously as a guide, I cut pieces for the sides and the seat. The seat has
a sort of triangular shape to enhance the "wingback" appearance, which I've probably over-exaggerated
here, but oh well. The pieces are assembled using hot-melt glue.


Image
Testing for size. The frame is constructed to allow for a 1-inch thick cushion on the seat and on the back.

Image
How tall should the back of a wingback chair be? After looking at pictures online, I figure just below the
top of the head is about right. In Smart Doll scale, that's going to be almost 11 inches from the base of
the seat, or 18 inches from the floor. These 1/3 scale projects are big!


Image
I'm not yet sure how to go about making the back, or transitioning the arms into the back. Some trial and
error is in order, I suspect, with an emphasis on the errors. For now, this is as far along as I've managed
to get. I need more thin cardboard, so I'll have to polish off another box of Froot Loops before I can continue.
User avatar
davidd
the walls have dolliehs
 
Posts: 936
Joined: Mon Feb 05, 2018 10:30 pm
Location: Utah... yeah, I know....


Re: Smart Doll Chairs

Postby davidd » Mon Feb 25, 2019 12:17 pm

I can't say I'm making progress on the wingback chair project, but I put some more time in to it last night:

Image
How do you cover curved, tapered arms? Whose brilliant idea was it to try to make curved, tapered arms?

Image
The wings... yeah. Dozens of mock-ups to come up with the size, shape, height, and angle.
End result: lots of frustration and little bits of cardboard scattered everywhere.


Image
Something like this, kind of, maybe. I dunno, it's looking pretty crappy.

Image
Testing for size. The frame is constructed to allow for a 1-inch thick cushion on the seat and on the back.
The plan for the back, however, is... well, it's no longer a "plan" as such, but rather, trial and error.


Image
Tricky little bit to cover a gap at the top of the arm.

Image
Using a thin cardboard template as a pattern for a foamcore board cushion back.
User avatar
davidd
the walls have dolliehs
 
Posts: 936
Joined: Mon Feb 05, 2018 10:30 pm
Location: Utah... yeah, I know....


Re: Smart Doll Chairs

Postby davidd » Fri Mar 22, 2019 5:45 pm

The wingback chair project is on the back burner while I ruminate over how to accomplish the next steps.

"Sulk" might be a more accurate term than "ruminate," because I saw a Smart Doll scale wingback chair pictured on Instagram a couple of days ago that is far more refined and elegant and professional than the childish cereal box and masking tape version I'm trying to construct.

Speaking of cereal boxes and masking tape: while I'm sulking about the chairs, I've been working on a fireplace. This is another project I began over the winter (toward the beginning of this past December, and now we're nearing the end of March) but never finished.

Image
User avatar
davidd
the walls have dolliehs
 
Posts: 936
Joined: Mon Feb 05, 2018 10:30 pm
Location: Utah... yeah, I know....


Return to Board index

Return to Tutorials

Who is online

Users browsing this forum: No registered users and 8 guests