Go to footer

Silicon molding and resin casting, from scratch.

Patient enough to take us step-by-step through a how-to? Well post it here!

Re: Silicon molding and resin casting, from scratch.

Postby kiki-chan78 » Fri Jan 11, 2013 1:12 am

Okay, silicon arrived today. Naturally the first thing I did was procrastinate in getting back to my molds. XD

Kidding. I prefer putting molds into the pressure pot before I go to sleep. This way I don't have to listen to the compressor kicking on while keeping the contents of the pressure pot under the correct PSI. Otherwise, I'll put molds under pressure if I have other things to do outside of my studio. Seriously, if I don't have hearing-protection for this, it will eventually cause damage to my hearing, and I can't predict when that compressor goes off. ^.~

On to the mold making. ^____^

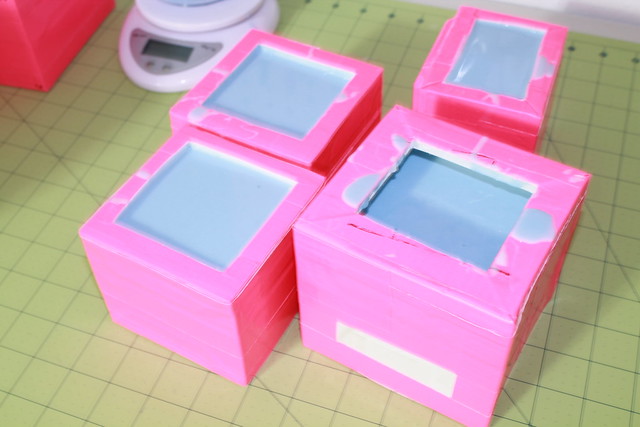
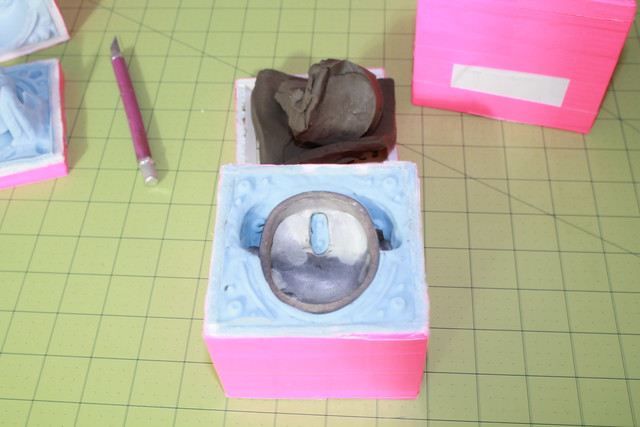
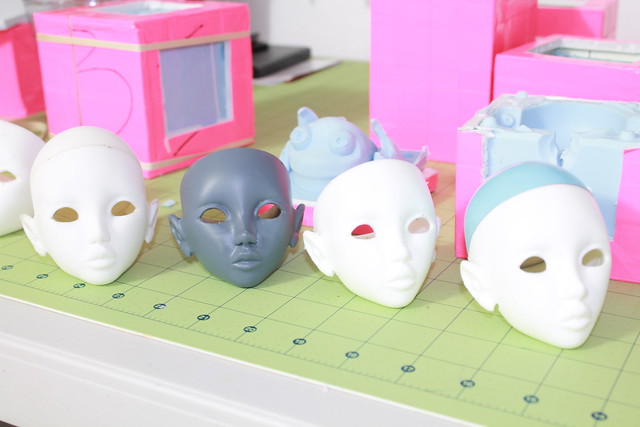
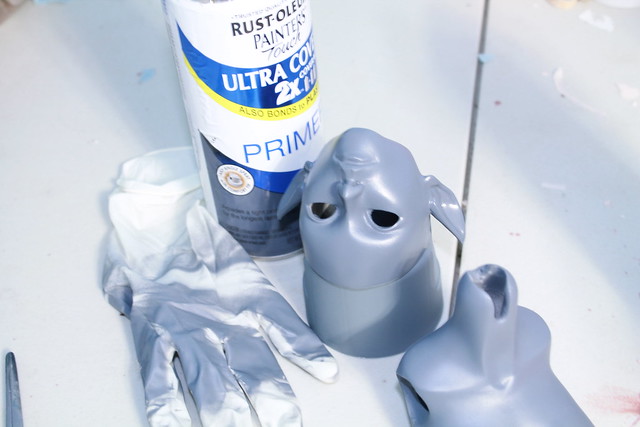
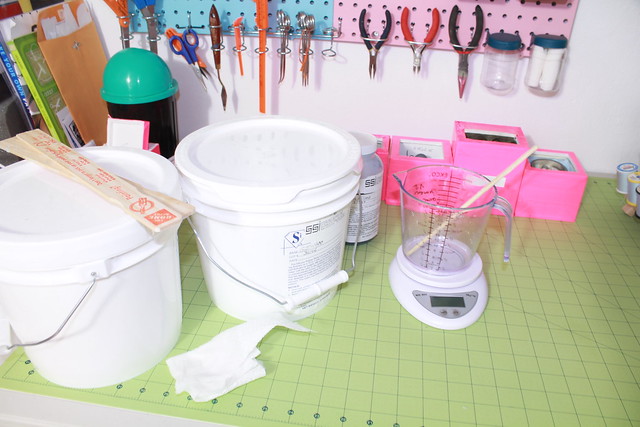
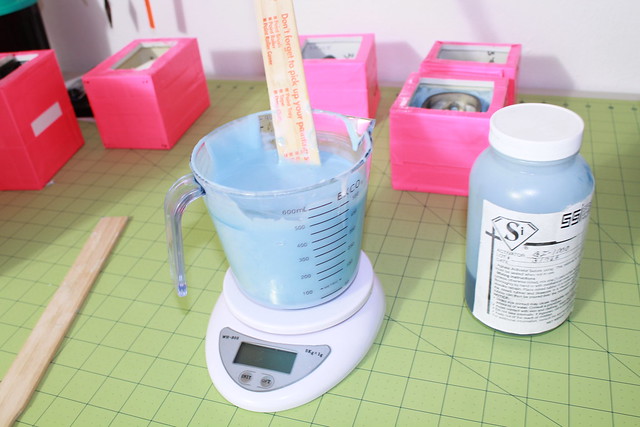
Like always, set up the workspace. This way you aren't scrambling for materials. Because I've been busy, there's a couple of extra molds in here. The white piece on the left is being molded without pressure. The parts to be cast under pressure are the ribs, human aaron, waist, and human alice. I only have so much space in my pressure pot, so not *all* of these will end up being poured tonight.

While setting up the workspace, go turn on the compressor. That way you aren't waiting for it to pressurize when you want to pop a mold into the pot.

Also scraping the last bit of silicon out of my last bucket, which is why there's two containers on the table. What was left in there wouldn't have covered much, but every drop is useful.

Image

Image


Normally you take a stab at mixing up the amount of silicon needed for the mold. In this instance, I'm pouring four molds, so I'm doling out as much as I can comfortably and consistently mix. This time I actually snagged a shot of the silicon weight. It's in grams.

Image

Image

Image

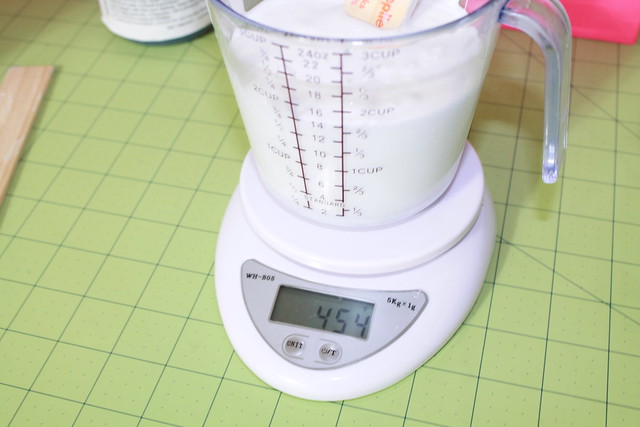
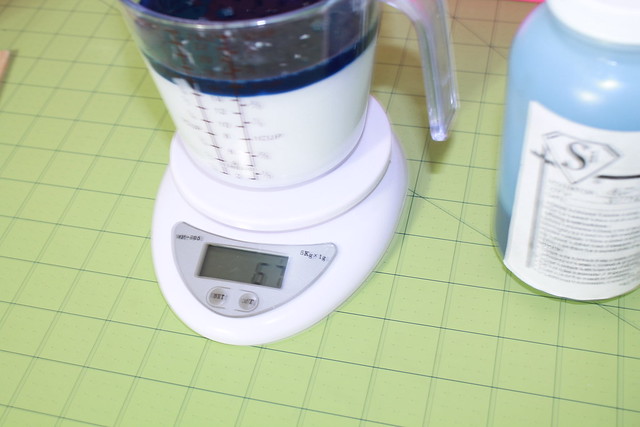
Normally you want to mix in by weight 10% of the catalyst (blue stuff). The more catalyst mixed in, the quicker it sets up. I tend to mix in 15%-20%, this is why the numbers are so 'off'. Some of my molds have set up in less than 5hrs, which is pretty fast. Then again, I'm pretty much in optimum mold making conditions. ^.~

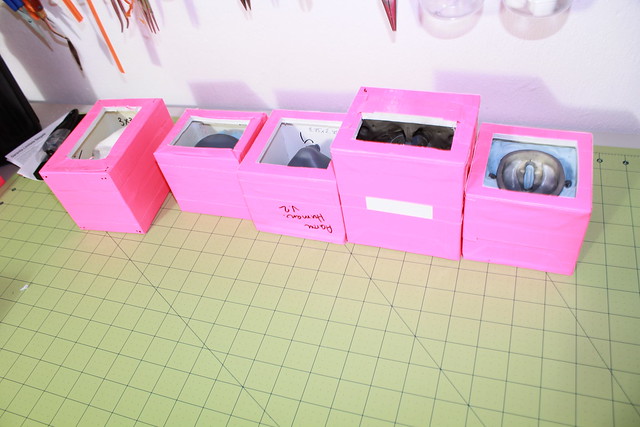
In the back you can see that I was moving the molds around. That was so they'd be easier to grab when I was ready to start pouring.

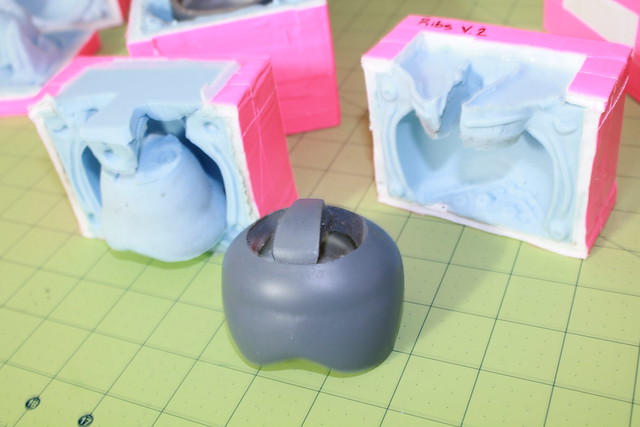
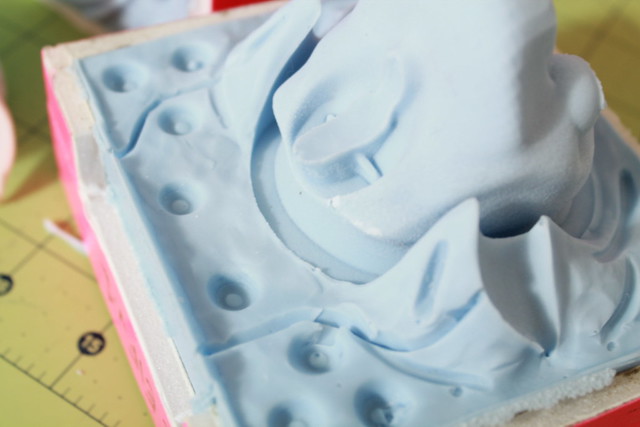
Before it's set up, silicon has pretty much the consistency of cool honey, and is about as friggin sticky. The ribs were a little tricky to pour, since i had to make sure that I didn't get a large air pocket inside the piece, which would translate into an ugly bulge of resin when cast. As it was held at a 45degree angle, the silicon was poured into the 'cup' and allowed to 'overflow' into the rest of the mold before being set back down and filled the rest of the way. Granted, it would have been loads easier if I'd poured from the bottom.... but hindsight is 20/20.

Image


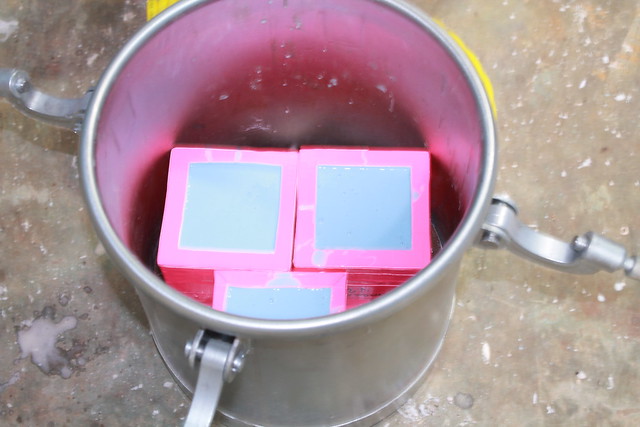
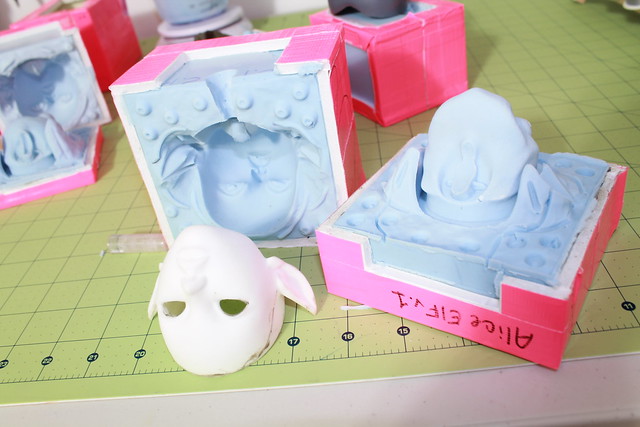
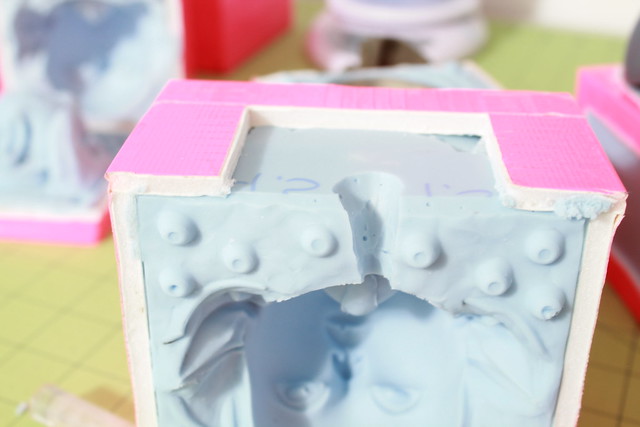
The previous 2cups of silicon that was mixed up only served to complete the molds for Alice human, Ribs and about an eight of the Aaron mold I'm starting now. Another two cups were quickly mixed to complete the Aaron, and also pour the remainder to complete the Elf Alice head mold which isn't being cast under pressure. So, what's in the pot are ribs, Alice human, and Aaron human. Tomorrow I'll be able to pull the molds, and make a pressure cast of Alice and the ribs. ^.~
Image
kiki-chan78
I snort dolliehs liek candi
 
Posts: 488
Joined: Mon Apr 05, 2010 6:56 pm


Re: Silicon molding and resin casting, from scratch.

Postby SoapBubbles » Fri Jan 11, 2013 6:36 am

This is so cool~! Thanks for taking the time to post all this up Kiki! :D
~**~ My Family of 3: Niel (BF TF/MNF Hybrid), Eira (Soom LG), & Mare (Soom TG). ~**~
User avatar
SoapBubbles
I snort dolliehs liek candi
 
Posts: 404
Joined: Thu Aug 16, 2012 7:26 pm
Location: Canada


Re: Silicon molding and resin casting, from scratch.

Postby kiki-chan78 » Sat Jan 12, 2013 2:36 am

Soapbubbles, thanks! It's really a long and involved process... and is also really awesome to see everything come together. ^___^

====================

Okay, got the molds out. Still have more work to do with some of them. -_-

The large one that looks like it's oddly filled in the Elf Alice. The box on that one was badly made (too tall), so I improvised when it came time to cast that puppy in resin. Not too concerned about the fact that it's a 'funny' mold, since all I really need from it is one resin pull from it. The others in that shot are the human alice, 'ribs' and aaron human.

Image


Human Alice pulled from the pressure mold:

Image


Human Aaron with the clay removed. Still need to pour the other half of this one.

Image


Ribs:

Image


The Alice elf head. This one is the 3D print along with the mold. To be completely honest, I have problems on occasion telling apart the 3D print and the cast resin piece. XD

Image


Here's a close up on something important with the alice elf mold (which is also on the human versions). Air vents cut into the mold to ensure no air-pockets get caught in the ears. Obviously this is a little more important on elf-ears. So yeah, these little channels also have the added advantage that I don't have to stick an additional airvent in there. ^.~

Image


The pour-spout that's been cut into the mold. A few little bubbles are visible here, which is normal on a non-pressurized mold.

Image


Sorry about the blurry shot, but here's what a freshly poured head looks like still in the mold. Again, this particular one isn't a pressurized casting. Second shot is the resin cast with the 3D print. Resin cast has had minimum clean-up, which is why is looks kinda bad.

Image

Image


Here's the Alice human heads. Going from left to right, 3D print, non-pressure resin cast (with grey primer), first pressurized resin cast, second cast. Normally the first resin casting out of a mold is to clean it out and is more or less 'useless'... unless having random stuff and clay in the piece doesn't cause an issue. It's the last one in the line that will be further 'polished' and will be the one that will turn into the head that I'm taking my 'master' molds from.

In case anyone is wondering about the blue head-cap. I wanted something other than grey, and the blue seemed like a nice alternative. ^.~

Image


Looking forward to getting the Elf Aaron into his mold-box. ^____^

Image
Image
kiki-chan78
I snort dolliehs liek candi
 
Posts: 488
Joined: Mon Apr 05, 2010 6:56 pm

Previous

Return to Board index

Return to Tutorials

Who is online

Users browsing this forum: No registered users and 12 guests