Instead we're gonna go from the beginning and making the *boxes* for the silicon molds. I've got four pieces that need pressure molding. They will all end up with two part silicon molds. The difference between non-pressurized mold making, and pressurized mold making is that while you can make a non-pressurized resin cast in a pressurized mold, you can't really go the other way since the resulting piece would be rather on the 'spikey' side.
For this, you'll need:
-Piece to be cast.
-Foamboard
-White glue
-Scotch Tape (optional)
-Ducktape (make sure it's good quality, the cheap stuff is just that... cheap and not really worth the hassle)
-Ruler (preferably metal)
-Calipers (optional, but quite handy)
-Exacto knife (be careful when handling sharp instruments)
-Non-oil based clay or Super Sculpy (the silicon will suck the moisture out of the Super Sculpy eventually rendering it useless)
-Silicon
-Resin
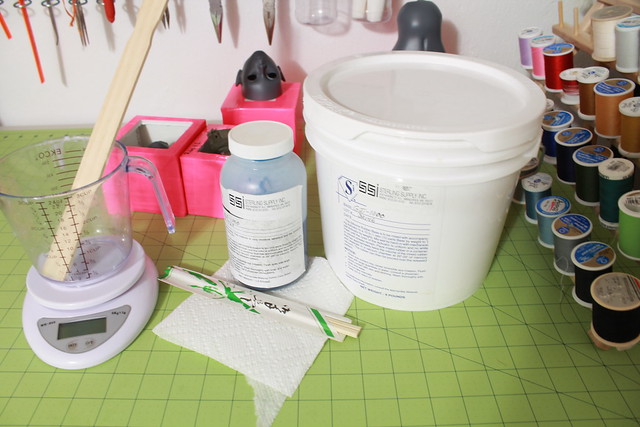
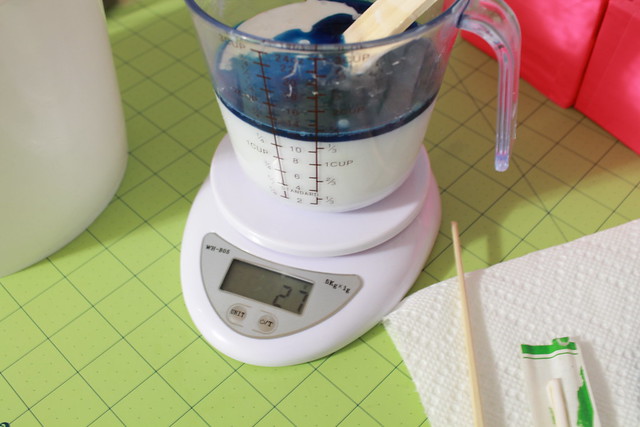
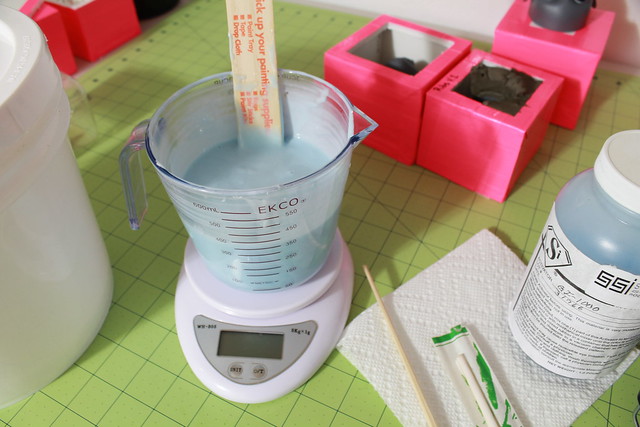
-Kitchen scale
-Cup to mix silicon in
-Stirrers (I use the paint-stirrers that are handed out in Home Depot)
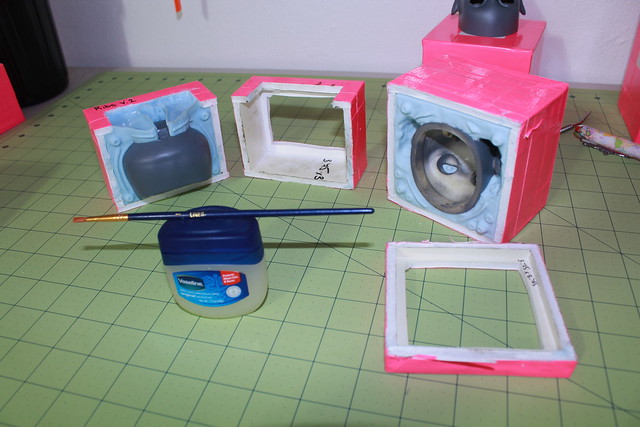
-Vaseline or Silicon mold release (if using vaseline, also have a small-medium paint brush to apply vaseline)
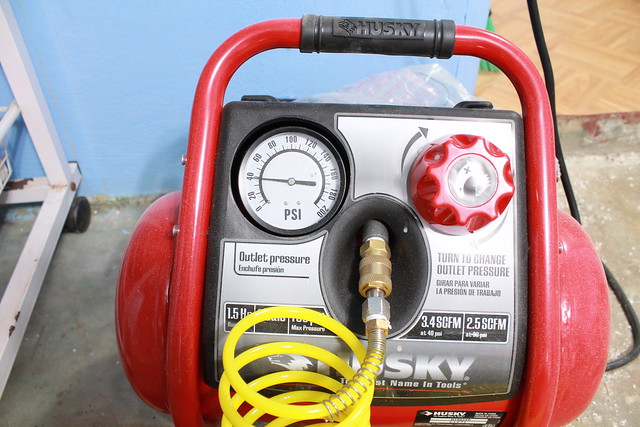
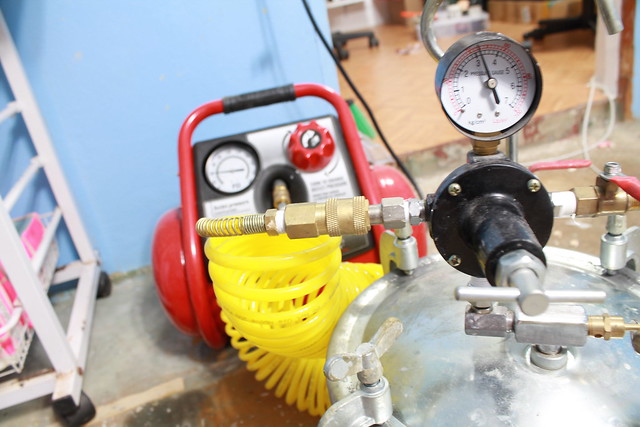
If you are planning on casting under pressure:
-Compressor
-2gallon pressure pot
The silicon and resin that I get is from Sterling Supply. I use GI-1000 silicon, and white Alumilite resin. Normally I'll pick up a gallon or two of silicon at a time, with an extra bottle of activator as well. One gallon is about $100, and a two gallon kit of resin is about $115.
FYI, it took more than two full molding sessions to get the final version of Allison, and each round of molding took about two gallons of silicon.
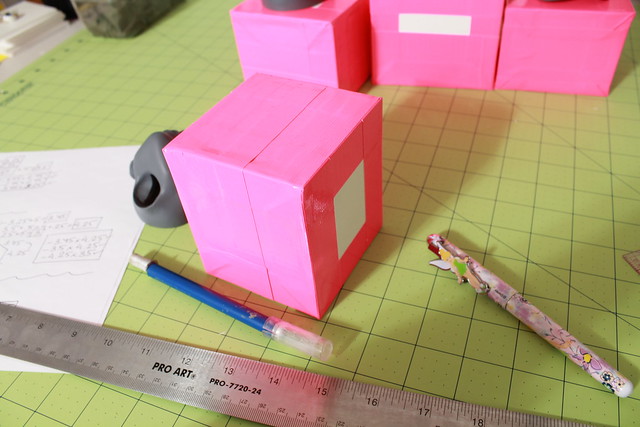
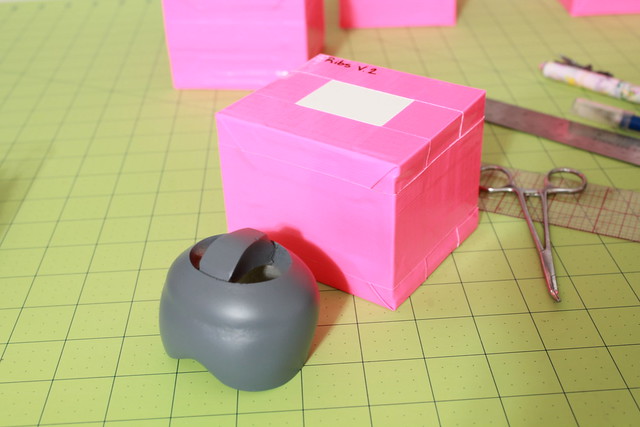
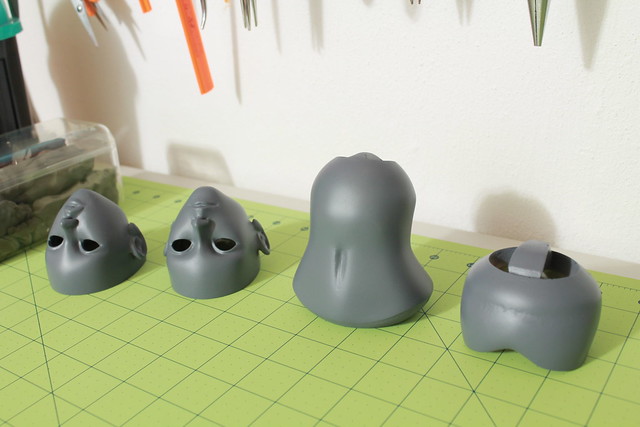
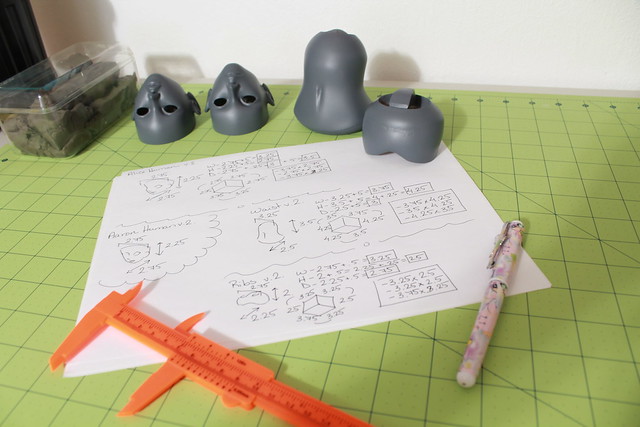
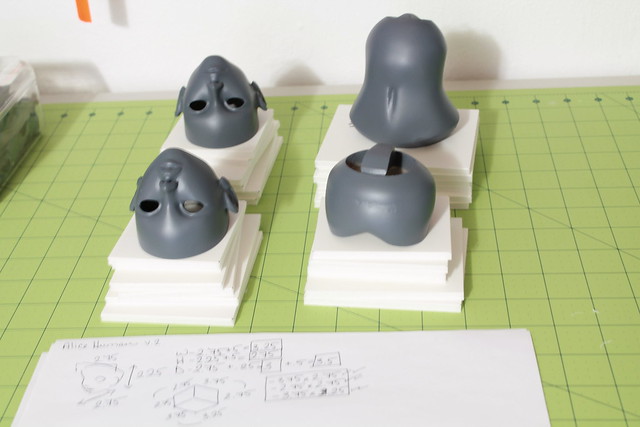
Here's the four pieces. Alice and Aaron human heads, Alice waist, and Alice ribs. Throughout this, I'll be concentrating on the Alice Human head's mold, even though I'll also be making the molds for the other three in tandem.
Before anyone says anything, no, those are not grey resin and I currently have no plans on producing grey dolls as of this time. The grey color is a primer that makes imperfections easier to view on surface. ^.~
First thing that you need to do is take measurements. I've got a set of calipers which are completely indispensable for my mold-making endeavors. FYI, Zirc's husband will trace around the piece and get his measurements like that; so that's something you may want to try if you don't have a set of calipers on-hand.
You want width, height, and depth. Round up to the nearest quarter inch, never down.
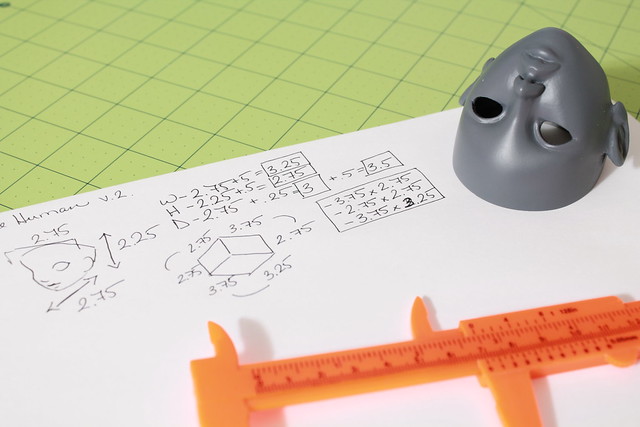
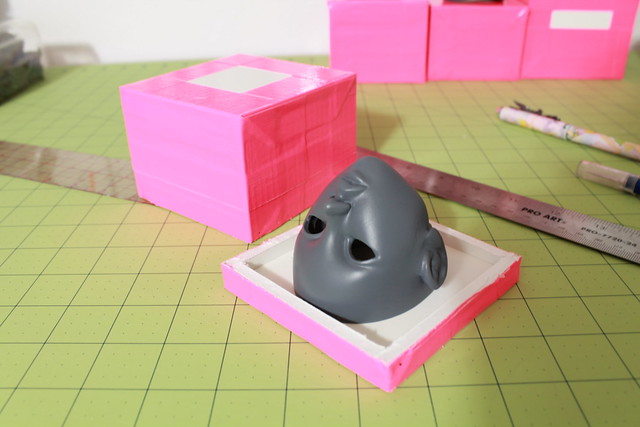
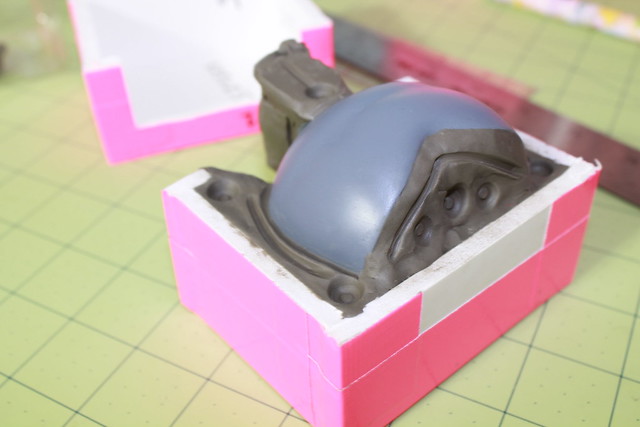
This is the time that you want to think about what orientation you want you piece to be cast in. The Alice head will be cast face-down to ensure the least amount of trouble with getting the face to come out with the least amount of flaws. Air rises, so you want the part on your piece that you care about the *most* to be faced down. In Alice's case, it's most obviously her face that I care out since I can always sand problems off the back of her head.
Her pour spout will end up attached to the back, hence the reason for the additional quarter inch on the depth. ^.~
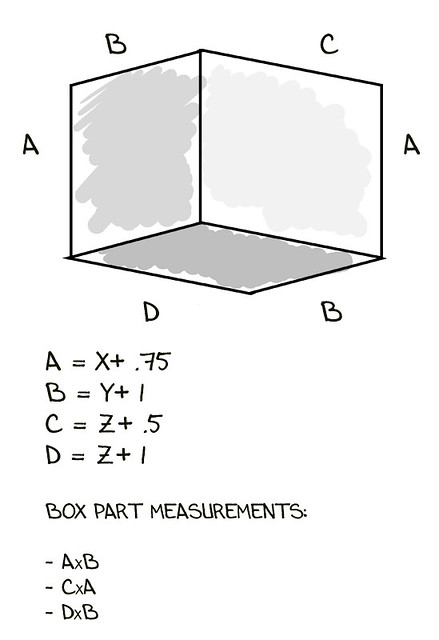
Now that you have Height, Width, and Depth this is time to get the rest of the measurement to make the box. Foamboard has a thickness of a quarter of an inch. Just replace x, y, and z in this image for h, w, and d. X variable corresponds to the pour spout, in the case of Alice's human head, X equals D.
Also got the measurements for all the other parts as well. Turns out that Aaron's dimensions follow Alice's to the point I didn't bother with finishing his measurements and just used grabbed Alice's. Drawing this out as you go is quite helpful.
====================
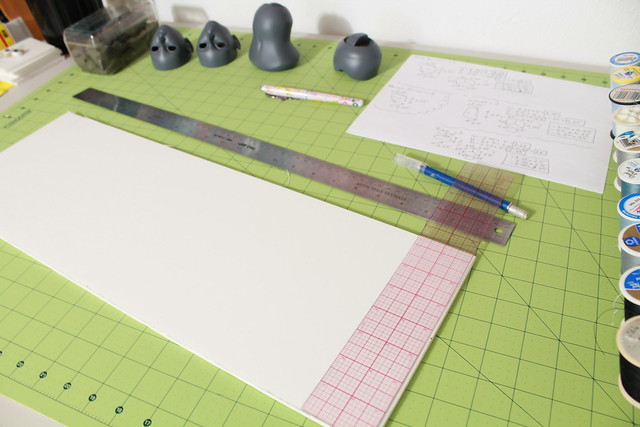
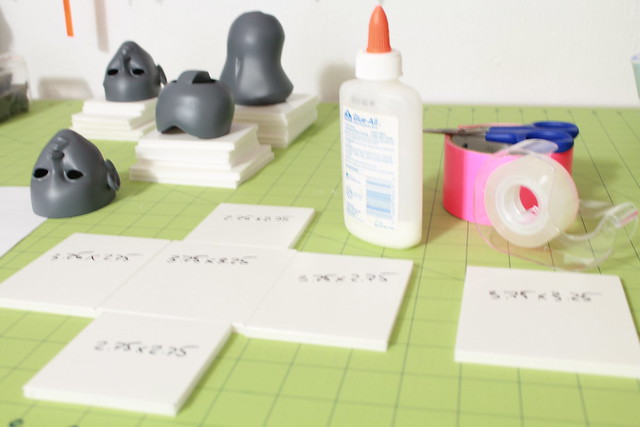
Now that we've got the measurements, it's time to cut out the parts of the box.
Cut out two of each measurement set from your foamboard:
- AxB
- AxC
- BxD
Always check and re-check measurements to be on the safe-side. If you are doing several boxes in tandem, it's a good idea to find the largest common measurement among them all to be most efficient.
It is also useful to have a self-healing cutting mat for this step. Otherwise, cutting carefully with several newspapers stacked underneath is also an option. Either way, take care since you will be handling sharp objects.
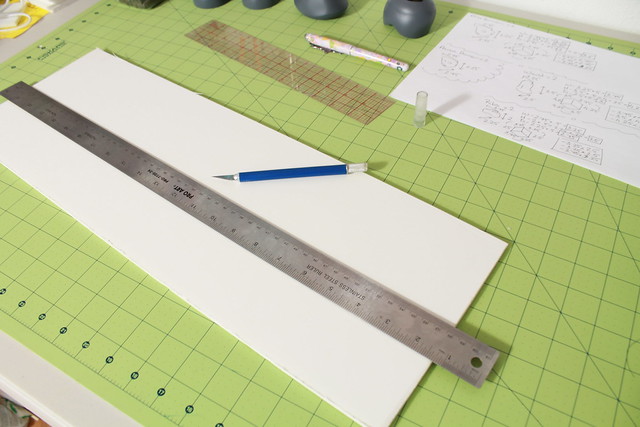
I make sure to use metal rulers for cutting, since if you are not careful the exacto blade can accidentally catch on a plastic ruler.
For a clean edge on the foamboard, it is always best to have a new/sharp blade. Dull blades can cause problems with the foam and start to tear it.
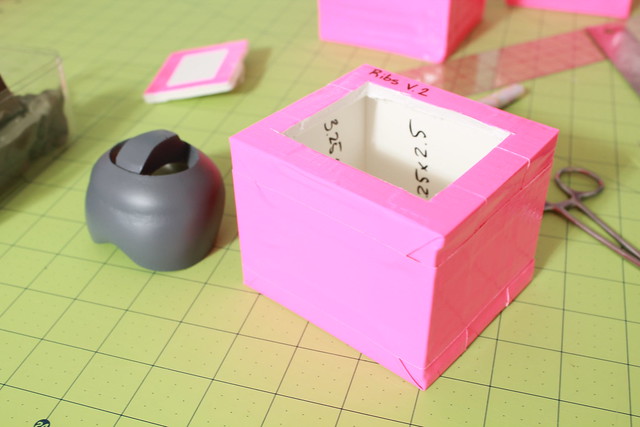
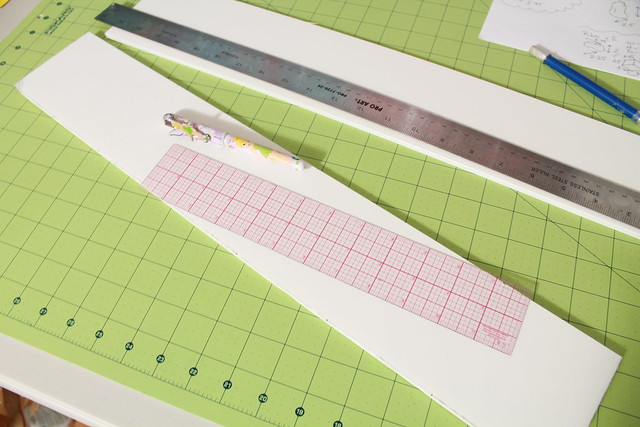
Keep all parts and pieces together. This makes it more convenient and easier to keep track of what is being done. It also helps a LOT to label what measurements each part has once it's cut. If they get put to the side, this way you will know where they go.
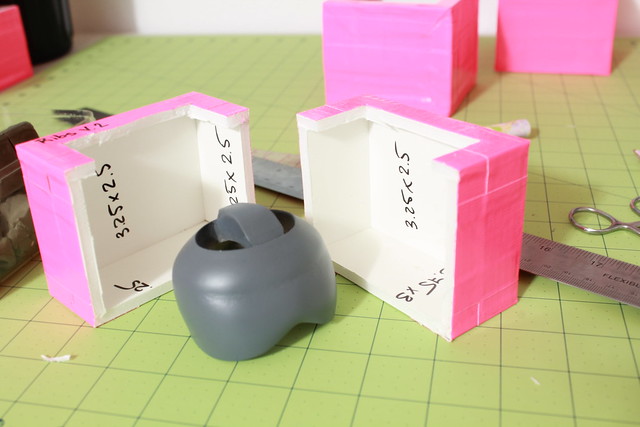
Here is the pieces for all my boxes with their respective parts.
====================
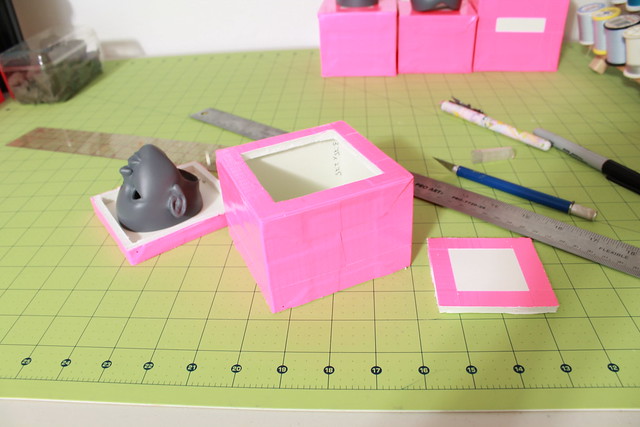
Now to assemble the box. This is pretty straightforward.
White glue is used to temporarily hold the sides together, with scotch tape providing more support.
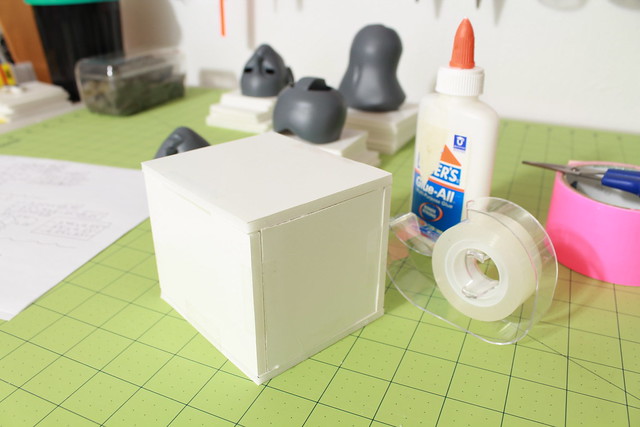
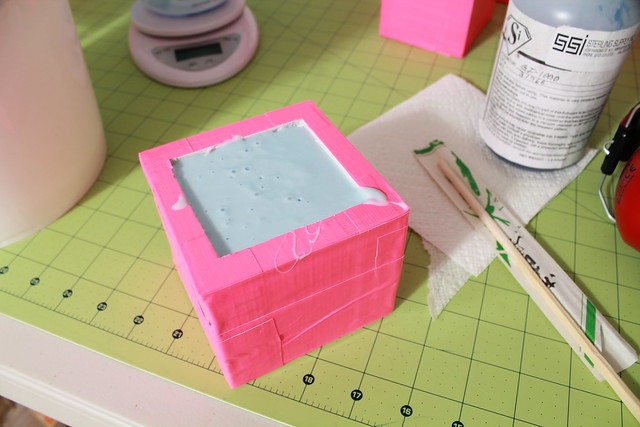
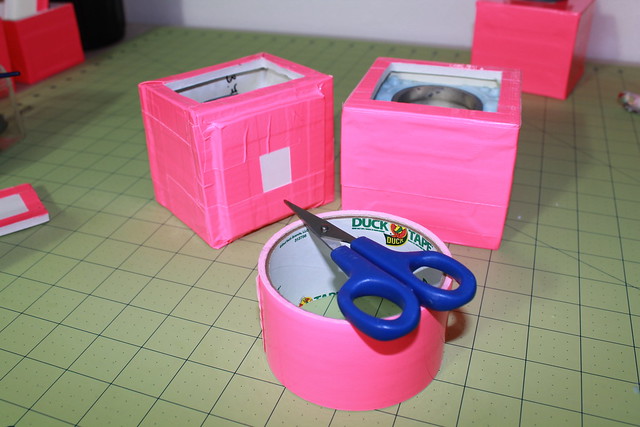
Once the box itself is together, the ducktape is used. Long story short, this thing is being made as 'water-tight' as possible. Ducktape is only a couple of bucks a roll and silicon is expensive. When in doubt, put more ducktape.
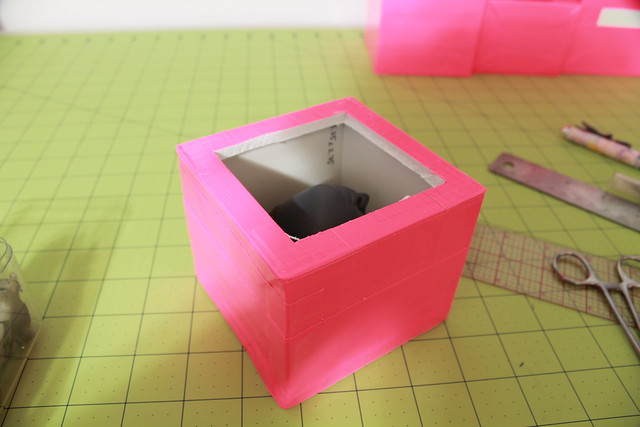
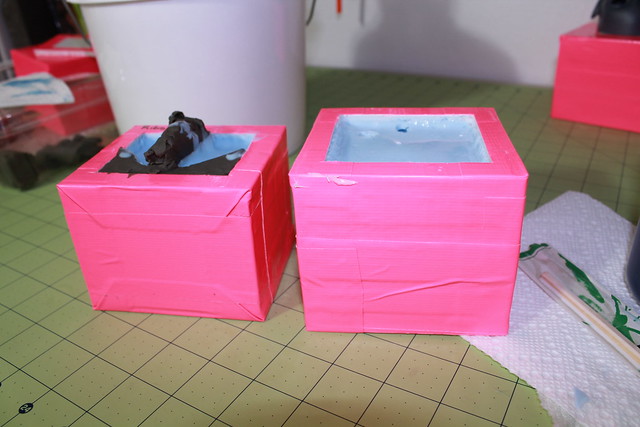
I've a pretty specific application format that I stick to when putting the tape on. This is making sure that there are no crevices that the silicon can slip out of. It should also be noted that I tend to primarily use the pink tape, mainly because it's pretty. ^.~

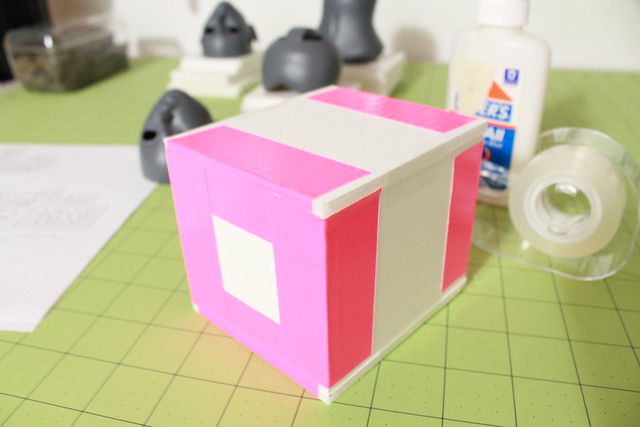
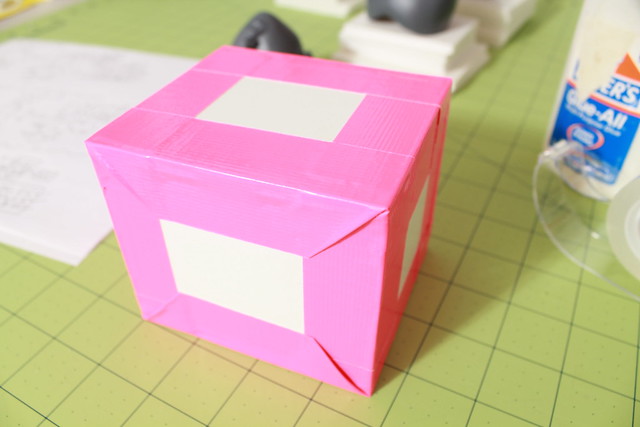
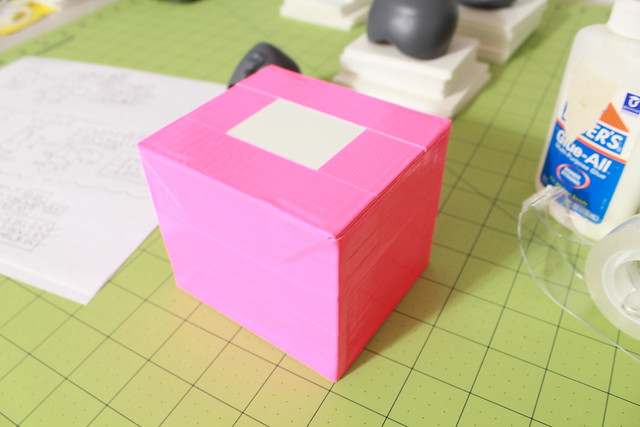
Yes, this kind of 'mummification' is done to all my mold-boxes. As stated before, the tape is cheap and silicon is expensive. It only takes one box to fail to ensure that you reinforce *all* of them.
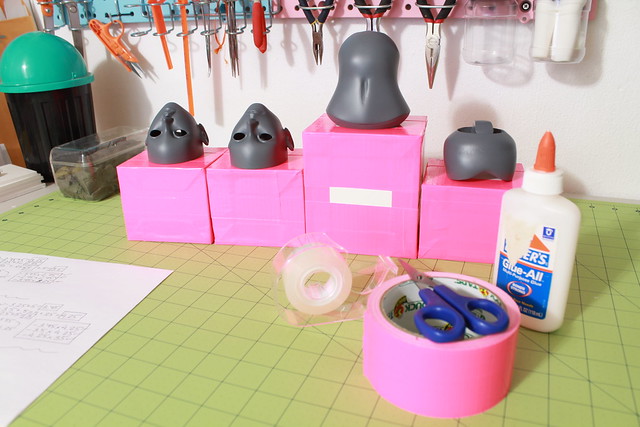
To finalize this section, here's a shot of all four parts with their boxes.
====================
Gonna pause here for the time being... mainly because I'm about to collapse. ^.~