List of Tools
Small screwdriver- Phillips or flat blade to match the bolt below. You will need a small Phillips screwdriver to disassemble the neckpiece.
Pliers- Regular slip joint pliers, vice grips, any type with a curved area in the jaws for holding round objects.
Long nose pliers
9/64” drill bit- Really. It’s the best size for the hardware we’ll be using. If you don’t have one, you can go to a hardware store like Ace or Tru-Value and purchase one. You don’t have to buy a whole set. They should carry individual bits.
Drill- If you don’t have one or can’t borrow one, you can drill the needed holes with just the drill bit, but it will take a little longer.
Scissors- For what you’ll be doing you’ll want an older pair, not your good sewing shears.
List of Materials
New Style Obitsu Neck Piece- This should fit the body you are going to be using (50cm or 60cm).
The Doll head- Kinda obvious.
Masking tape- you can also use a cloth tape like duct tape, athletic tape, etc.
6-32, 1½” round head bolt*- Phillips or slotted. 1½” is an "average" length. Measure the thickness of the material in the neck hole in the head you wish to install and add ¾” to 1" get the length you need.
#6 flat washers*- one or two.
6-32 nuts* (get at least two) OR...the cadillac of nuts, a locknut w/ nylon insert- The locknut w/ nylon insert is the best and simplest for this application. A nylon washer is built into the nut, which grips the threads of the bolt as they come out of the nut providing a slip-free connection. It also eliminates the need for a second nut and provides a more secure connection. You may have to search around for these, but they are worth it.
A homemade washer- This washer can be made of thick fiberboard (like the backing board from a pad of paper) or a flexible plastic (like from a plastic container or lid. The one used in this tutorial was cut from the cap of a 1-gallon milk jug. We’ll get into the specifics of this item later.
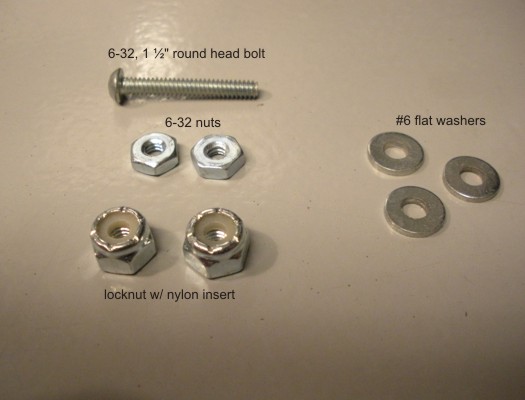
You may not be able to buy the three store bought hardware items (*) individually. You may only find them in blister packs containing multiple pieces. If you can buy them individually, buy a couple of extras. They are very inexpensive and if you get only exactly what you need it’s almost guaranteed you’ll drop one and loose it. Buying extras will save you the trouble of trooping back to the hardware store to buy another $.12 nut.
First, remove and disassemble the new style Obitsu neckpiece by unscrewing the Phillips head screw inside the body of the neckpiece.
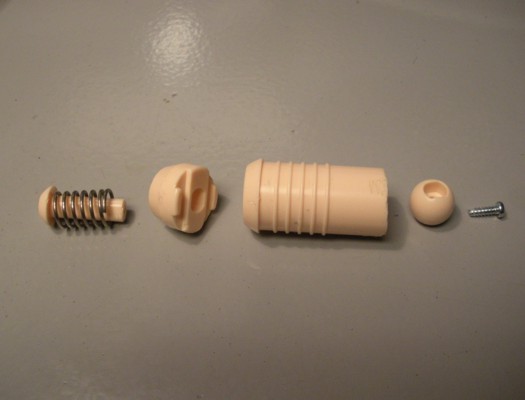
Here are the parts of the disassembled neckpiece. We will only be using the body and the little ball part.

Next stack up several (2-3) small pieces of tape on each side of the curved part of your pliers. This will cushion the plastic part we’ll be holding without the ridges in the jaw marring the plastic surface.
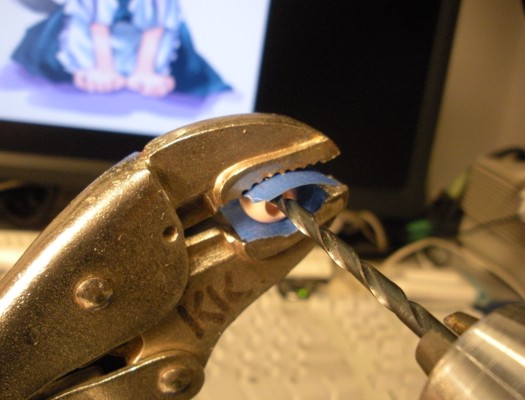
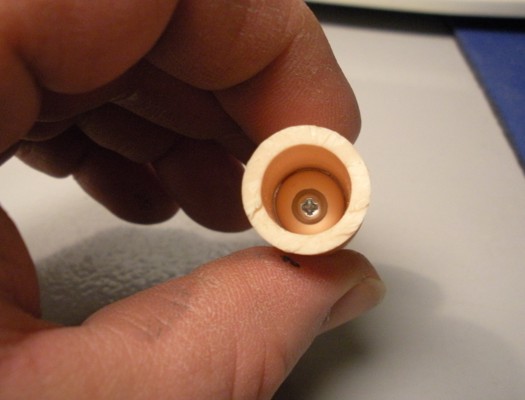
Grip the small plastic ball from the neckpiece in the pliers so you can see the hole in it. If you use vise grips (as shown) don’t over tighten. You need to hold it firmly but not damage it. Now with your drill and bit, enlarge the hole through the ball to 9/64”. Start slowly. The beveled point of the bit should center the bit in the existing hole for you.
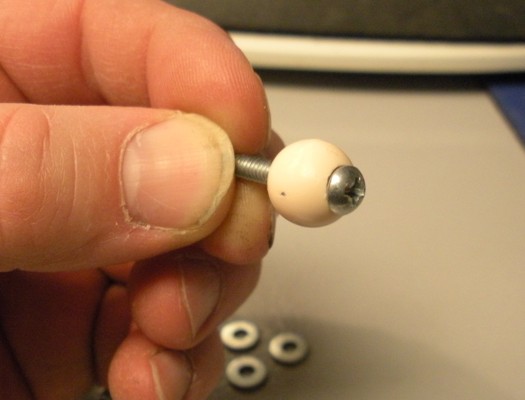
Now your bolt should fit easily through the plastic ball.
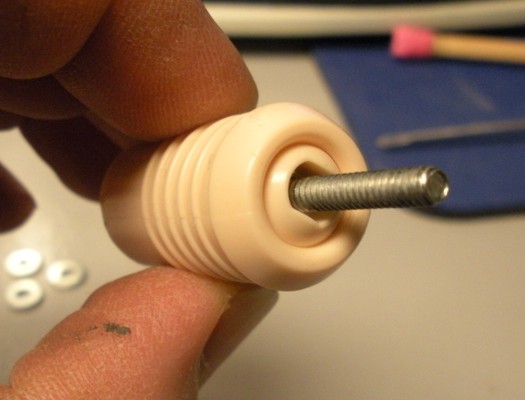
Next, insert the plastic ball and bolt into the body of the neckpiece, bolt threads first. The ball will stop short of the end of the neck piece body. Using the Phillips screwdriver, pushing it in the rest of the way. It should snap in easily to the position shown.
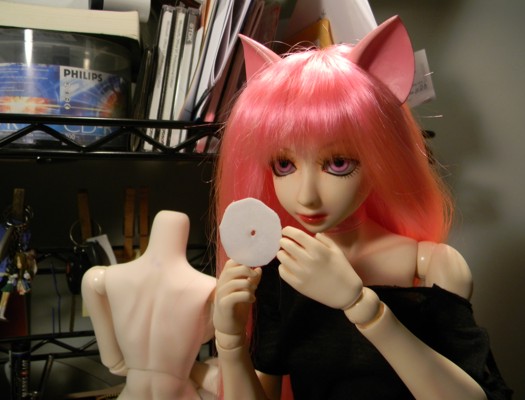
Now it’s time for the homemade washer. The over all diameter of the washer will be determined by the size of the neck hole of the head you wish to install. The washer should be approximately ¼” to ½” larger in diameter than the neck hole in the head. If you cut the washer a little large you can always trim it down if you find it impedes head/neck movement or interferes with the eyestalks. Once the washer is cut, use the drill bit to make a hole in the center of the washer.
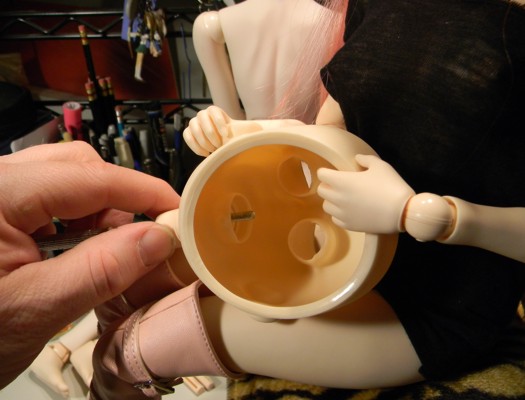
Insert the neck piece and bolt assembly into the base of the head.
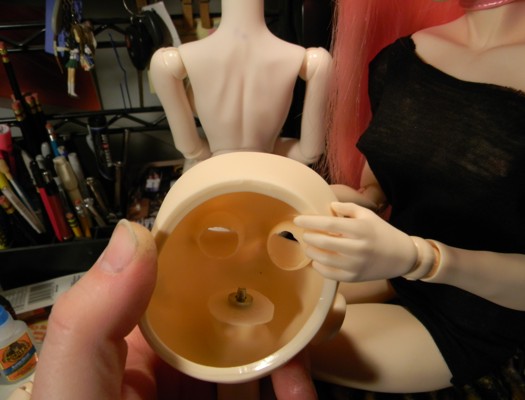
Place your homemade washer on first, followed by one of the #6 flat washers.
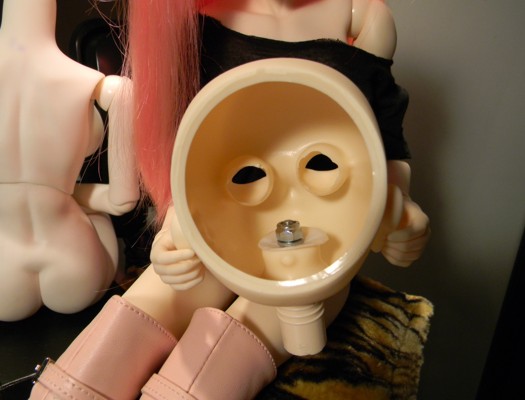
Next, screw on the lock washer. The side with the nylon insert goes on last. You will only be able to get a couple of turns of the locknut by hand. At this point, the bolt hits the nylon insert and has to cut its own threads into the insert. Hold the lock nut with the long nose pliers and tighten the Phillips screw inside the neckpiece. Tighten until firm. Depending on the size of the neck hole, your plastic homemade washer might bend a little. You can add a couple of thicknesses of your home made washer to firm it up if you wish. Or sandwich a thick piece of fiber board (like the cardboard on a pad of paper) between two plastic washers.
If you didn’t find the locknuts, tighten one regular nut down on to the washers till the assembly is held firmly together. Now tighten a second nut down onto the first nut.
Install the head/neck piece into the neck of the Obitsu body. The head should be firm and not floppy, but it should still move easily as needed for posing. Snug up the nuts if there is too much free movement.